Farm to Table Report – SEP/OCT 2019
Contents
• The Rich History of AZ Chiles • How to Clean/Prepare/Roast/Freeze • Seasonal Recipe
THe RICH HISTORY ARiZonA Chiles
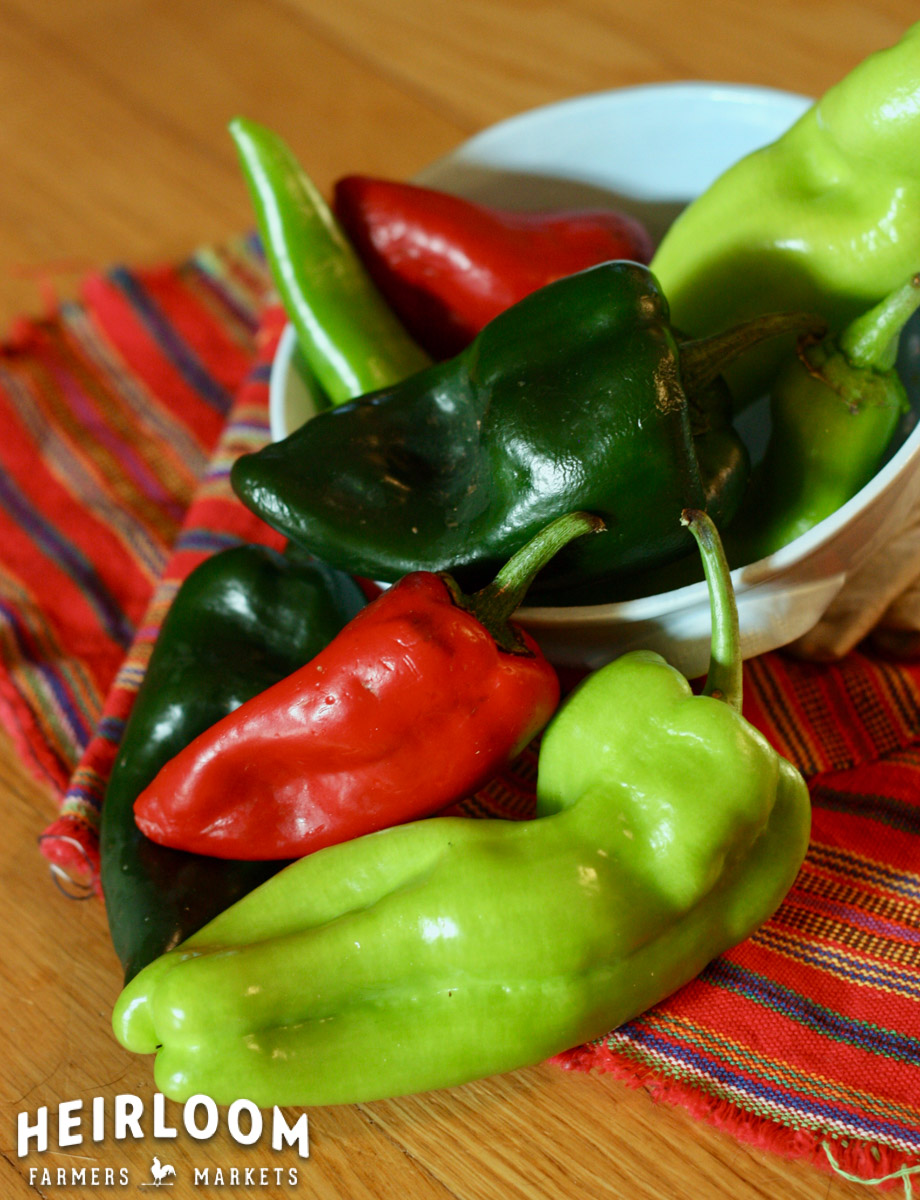
Is anything as delightful as the sweet, smoky smell of freshly roasted chiles? Thanks to stellar marketing and state-supported efforts, New Mexico Hatch Green Chiles are revered across the country for their spicy-yet-sweet flavor and mouthwatering aroma. But you don’t have to cross state lines to experience the rich history and delightful flavor of some of the world’s best chiles, which are grown right here in southern Arizona. The native people, farmers, and cooks of Baja Arizona have made the borderlands an invaluable part of the chile’s history – and you can experience it for yourself at Heirloom Farmers Markets.
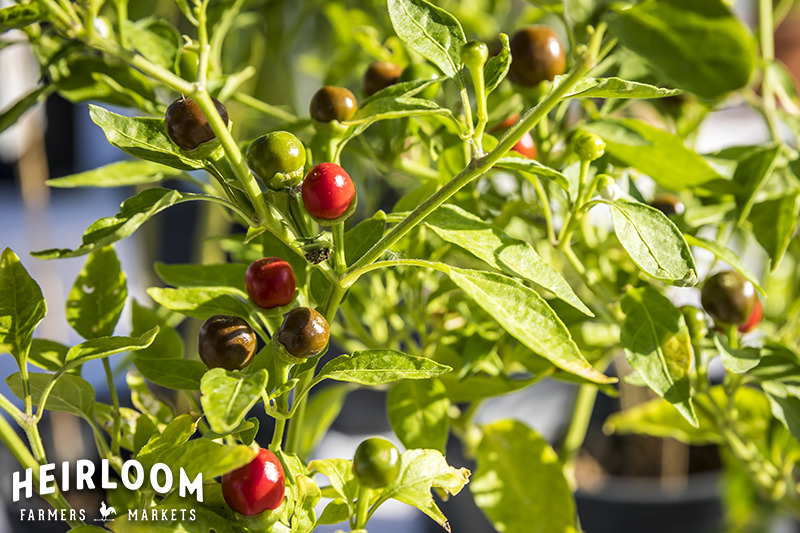
Anyone who’s been in Baja Arizona for more than a few weeks has likely encountered the chiltepin – whether it be pickled, dried, or plucked fresh off the bush. Looking more like a small holly berry than an elongated chile, the chiltepin is fiery in both heat and flavor and has been harvested from the wild deserts of northern Sonora and southern Arizona for thousands of years. According to the book Chasing Chiles, the chiltepin “remains one of the true cultural icons of the desert borderlands, a quintessential place-based food, for it is still hand-harvested from the wild” and as such can gross over a million dollars in the international marketplace in a good harvest year. To the disappointment of many, chiltepin plants don’t do well when cultivated – their water-sensitive roots and shade-hungry branches much prefer to hide under the Sonoran Desert’s wild mesquite and hackberry trees. The chiltepin plant’s inability to be cultivated means the success of its harvests are reflective of local weather patterns – for better or worse. Chiltepin plants produce the most fruit after midsummer rains and can only be harvested during a short window, typically in mid-October; no rain–or too much rain–results in a poor crop and premium prices for these already pricey chiles.
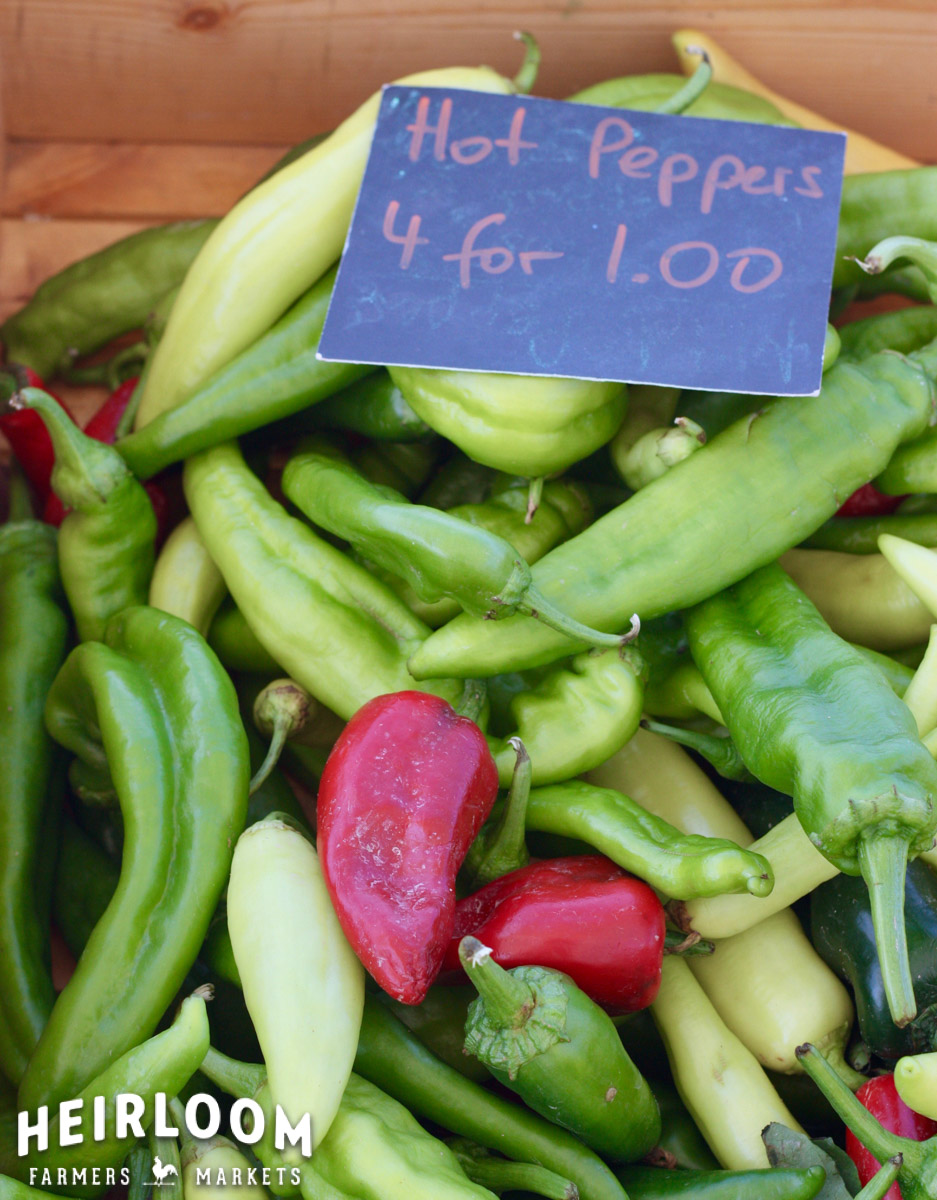
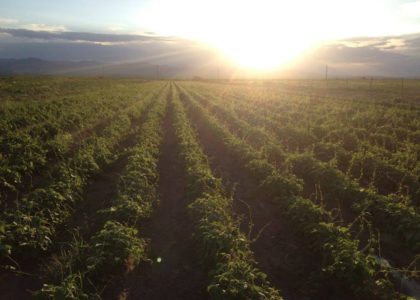
Unlike chiltepins, domesticated red and green chiles thrive on arid high desert farms like those in Cochise County, which boasts hot and sunny days and cool nights. Chiles were once a common and profitable crop in this region, where in the 1940s and 50s a few successful chile harvests could help family farms earn a good living and pay off their land. Back then, chiles were seasonal and people from near and far would drive to these small farms every fall to purchase huge quantities for roasting, canning, and freezing – enough to last until the next year’s harvest. Large food production and distribution companies also sustained Arizona’s chile farms by sourcing their chiles from them. Together, individual consumers and large companies supported Arizona’s prominent chile industry for many years. As our food system became more industrialized and corporations began importing cheap produce from abroad, chiles became available all year around and the demand for seasonal and locally grown chiles – as well as most family-owned chile farms – disappeared.
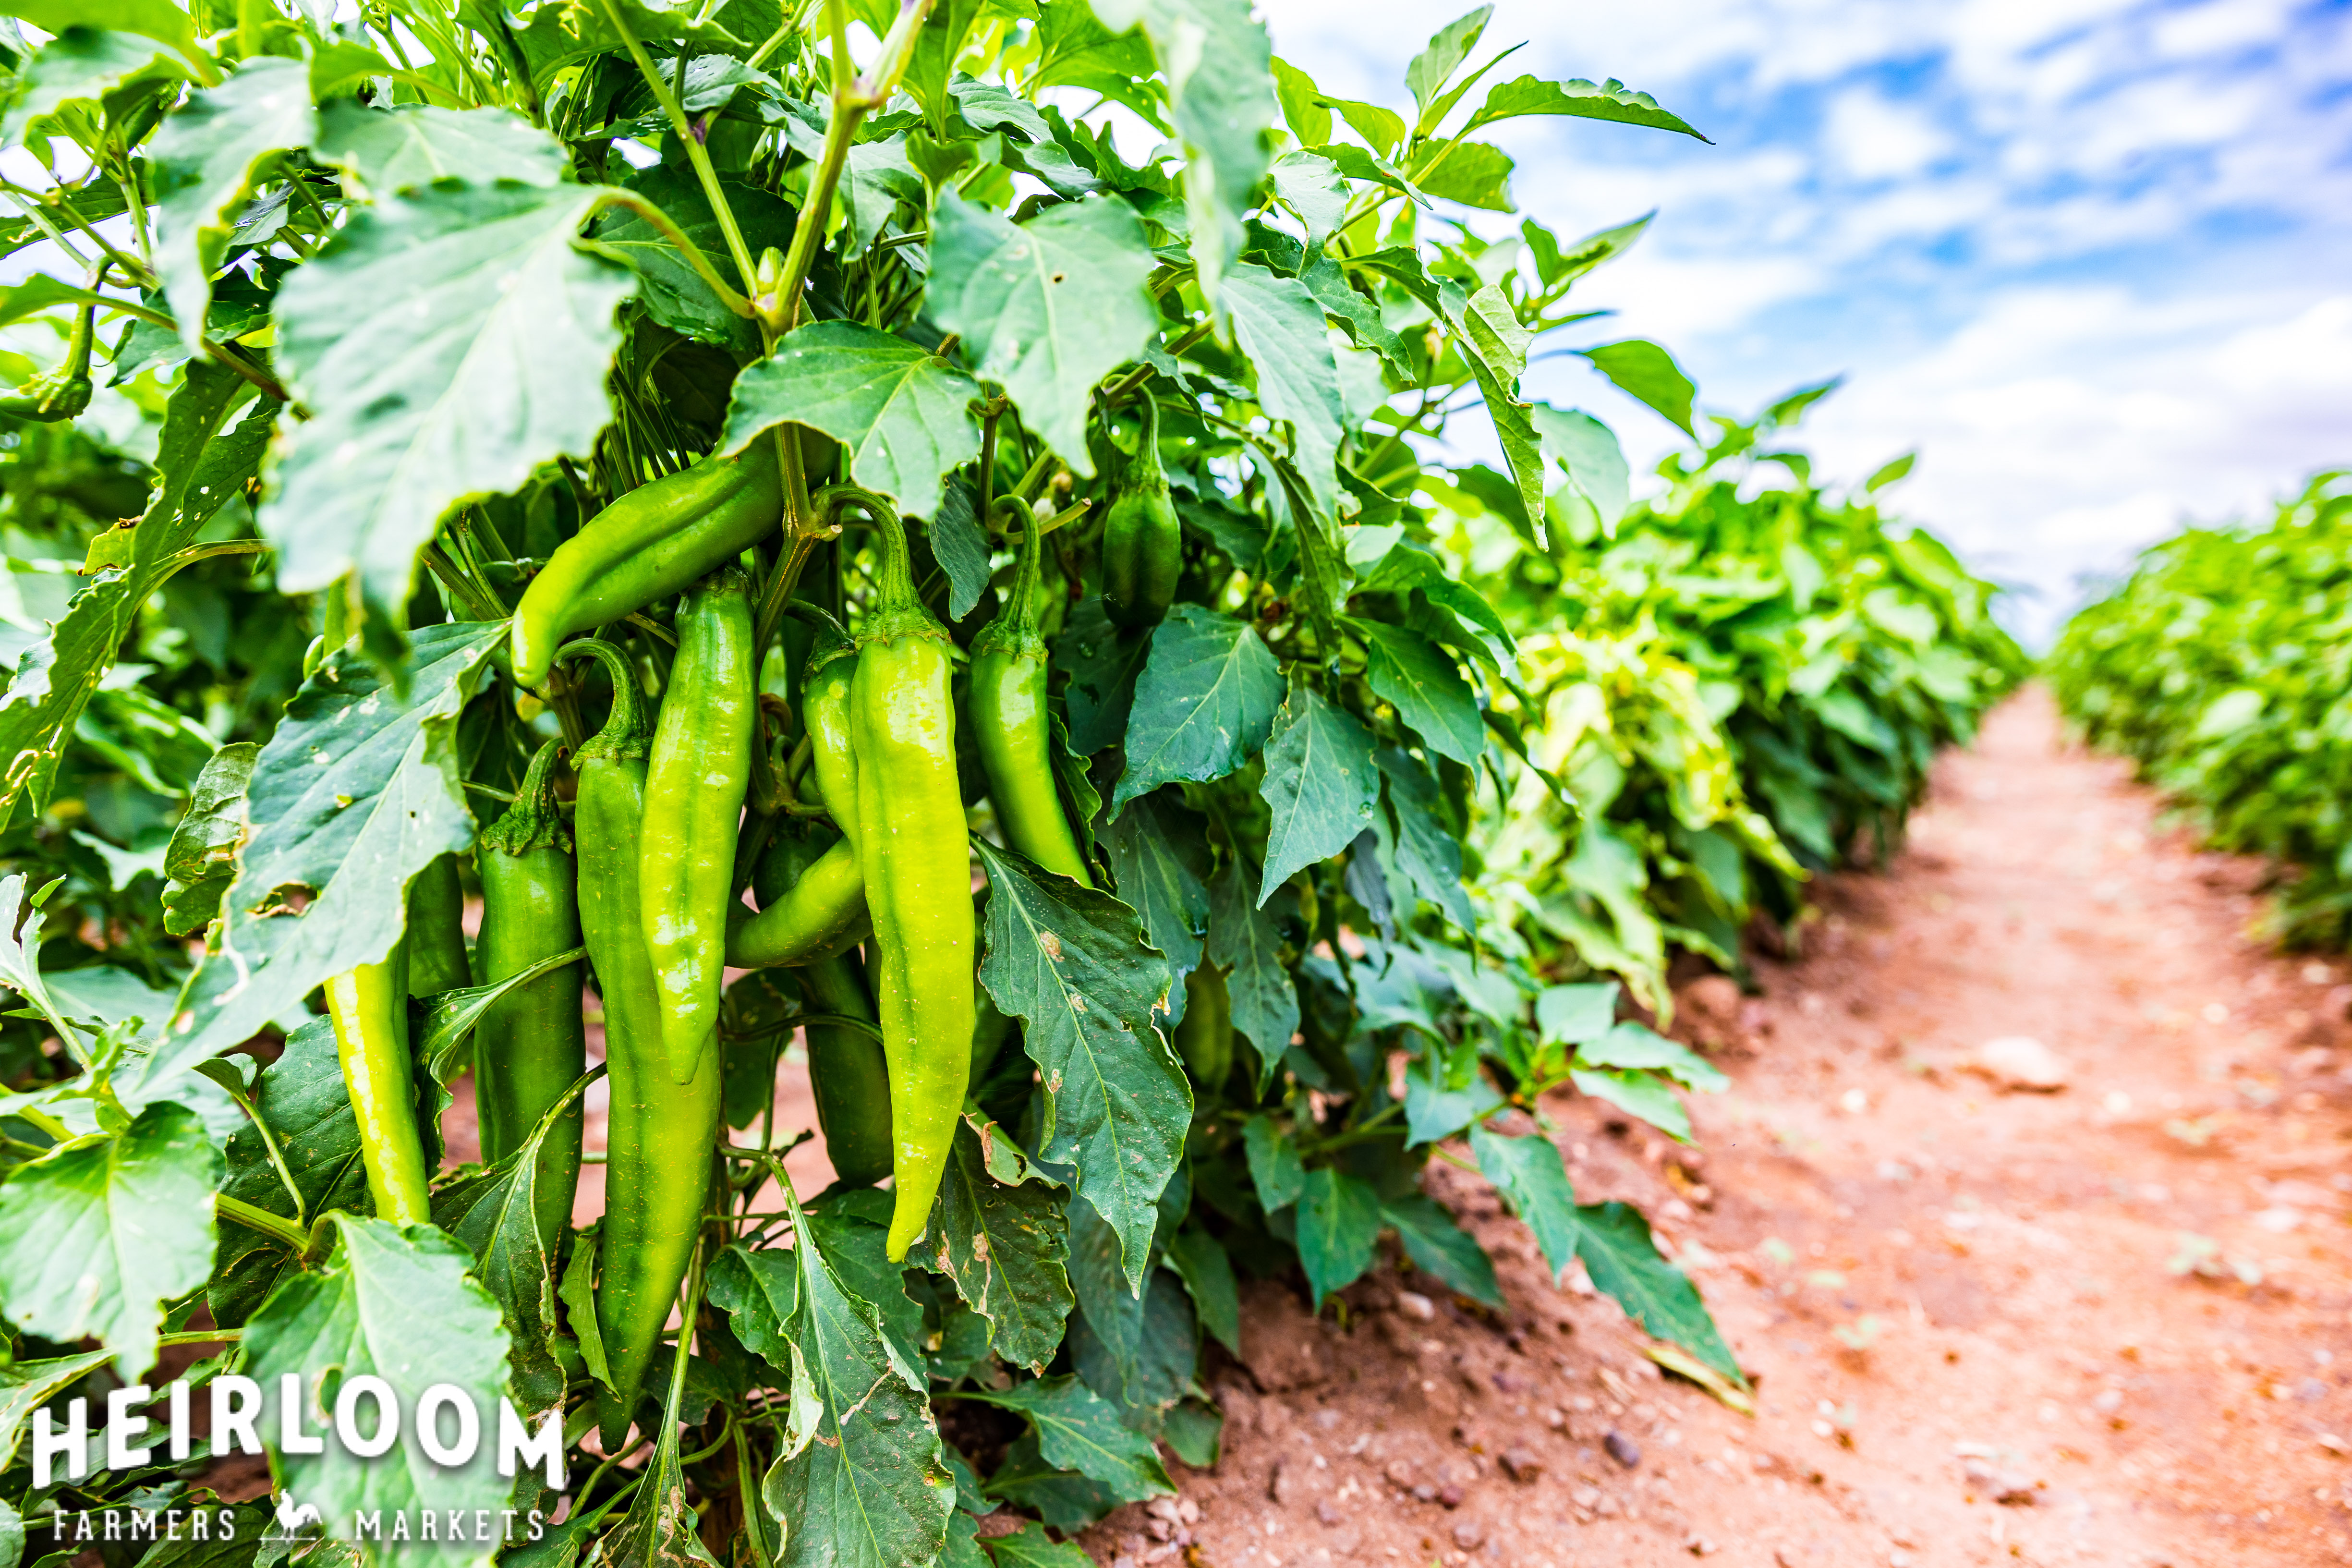
There are about 7,000 acres dedicated to growing chiles in Arizona these days, but 90 percent of the green chile seeds sold in the world come from Curry Seed and Chile Company in Pearce, just 90 miles southeast of Tucson. Fourth-generation Farmer Ed Curry has spent his career improving chile varieties through hybridization. One of the most popular varieties is the Arizona 20, a thin-skinned green chile frequently grown by New Mexico farmers and branded under the Hatch Chile name. Arizona Highways deemed Curry and the Arizona chile industry “one of the state’s best-kept secrets” – a sentiment with which Arevalos Farm owner Aaron Cardona agrees. “A lot of farmers grow New Mexico chile varieties just because people are already familiar with them … but because they’re grown here, Arizona chiles have a lot more clout,” says Arevalos. He, along with neighboring farmers, have supported Curry’s business for years by using his seeds to grow an array of mild, medium, and hot chiles for the people of Arizona to enjoy. Now, they need the support of locals to sustain them.
In order for Arizona to once again thrive as a producer of fresh chiles, we must support the small number of farmers who still grow them for us. As with everything else, chiles are better when they’re grown close to home and enjoyed in season. Go to the Roasted Chile Festival at Heirloom Farmers Markets this September. Buy your chiles in season from local farmers. Learn to prepare them. Savor them. Then, freeze some for later in the year, when you get the urge to buy less flavorful imports from a commercial supermarket. Use your dollars and actions to vote “yes” for a future filled with Arizona chiles – it’s a delicious future indeed.
How to: Clean/Prepare/Roast/Freeze Chiles
Cleaning and Preparing Chiles
Cleaning and preparing chiles is a relatively simple task but should be done with caution so that the oils in the chiles don’t burn you. If you’re especially sensitive to the heat that chiles give off, wear gloves when handling them. At the very least, frequently wash your hands–as well as your cutting board, knife, and anything else the chiles touch–with hot, soapy water. Be sure not to touch your face (or any other sensitive parts of your body) when handling chiles.
From the mild Arizona 1904 chiles to the brow-beading Big Jim chiles, there’s a chile out there for everyone. To select the chile that’s right for you, ask the farmers you’re buying them from. They’re likely to share everything from each chile’s history, to where they rank on the Scoville Heat Scale, to which recipes really allow these seasonal specialties to shine.
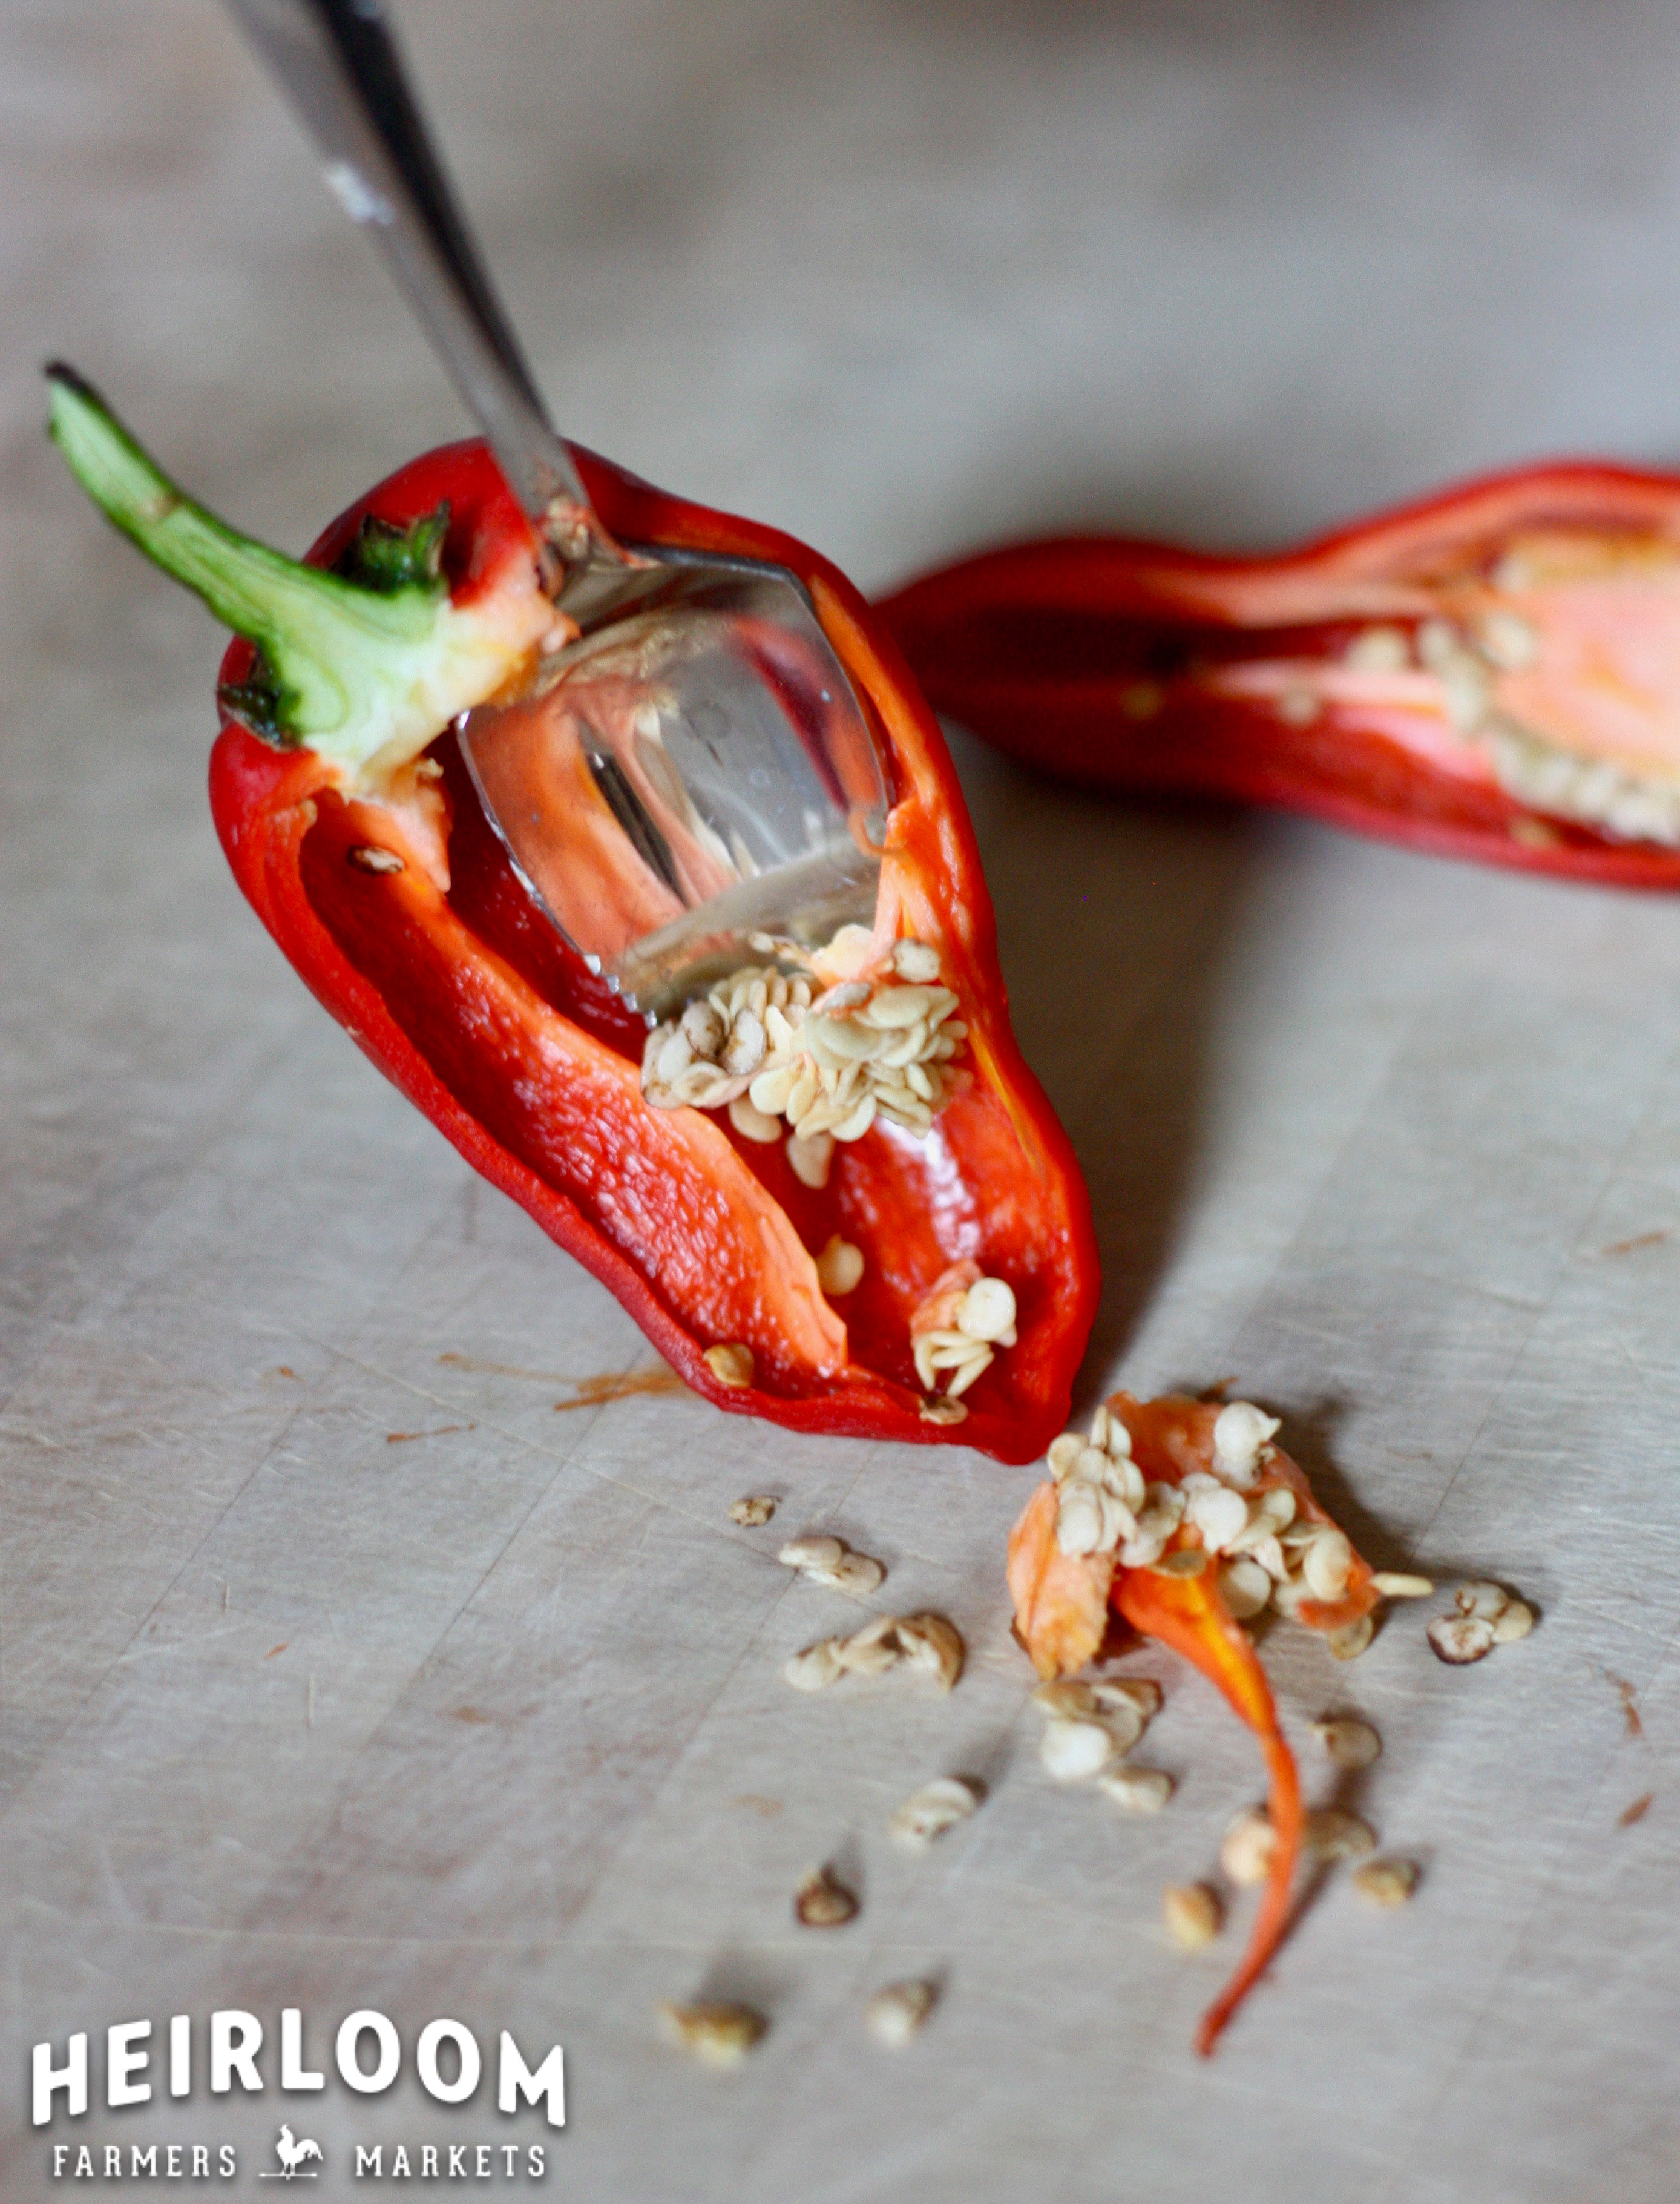
When you get home with your chiles, start by rinsing them under warm water to wash away any dirt or debris that might still reside on the skins. Once they’re clean and shiny, dry them off with a clean kitchen towel and transfer them to a bowl. To remove the white, spongy membranes (where most of the chile’s heat is stored) and seeds, use a knife to first cut off the stem, then slice the chile in half lengthwise. Use a spoon (serrated grapefruit spoons work great here) to scrape the membranes and seeds into a compost or trash bin. Then proceed to use the chiles however your recipe calls for them.
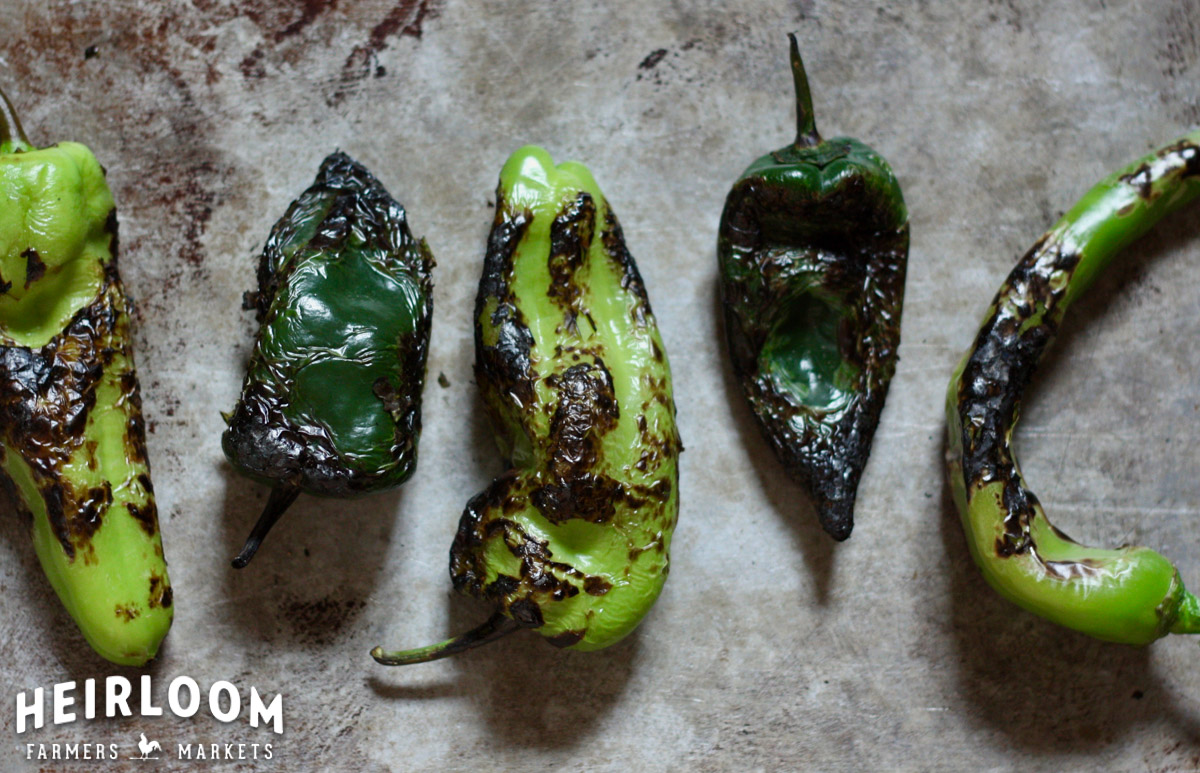
Roasting Chiles
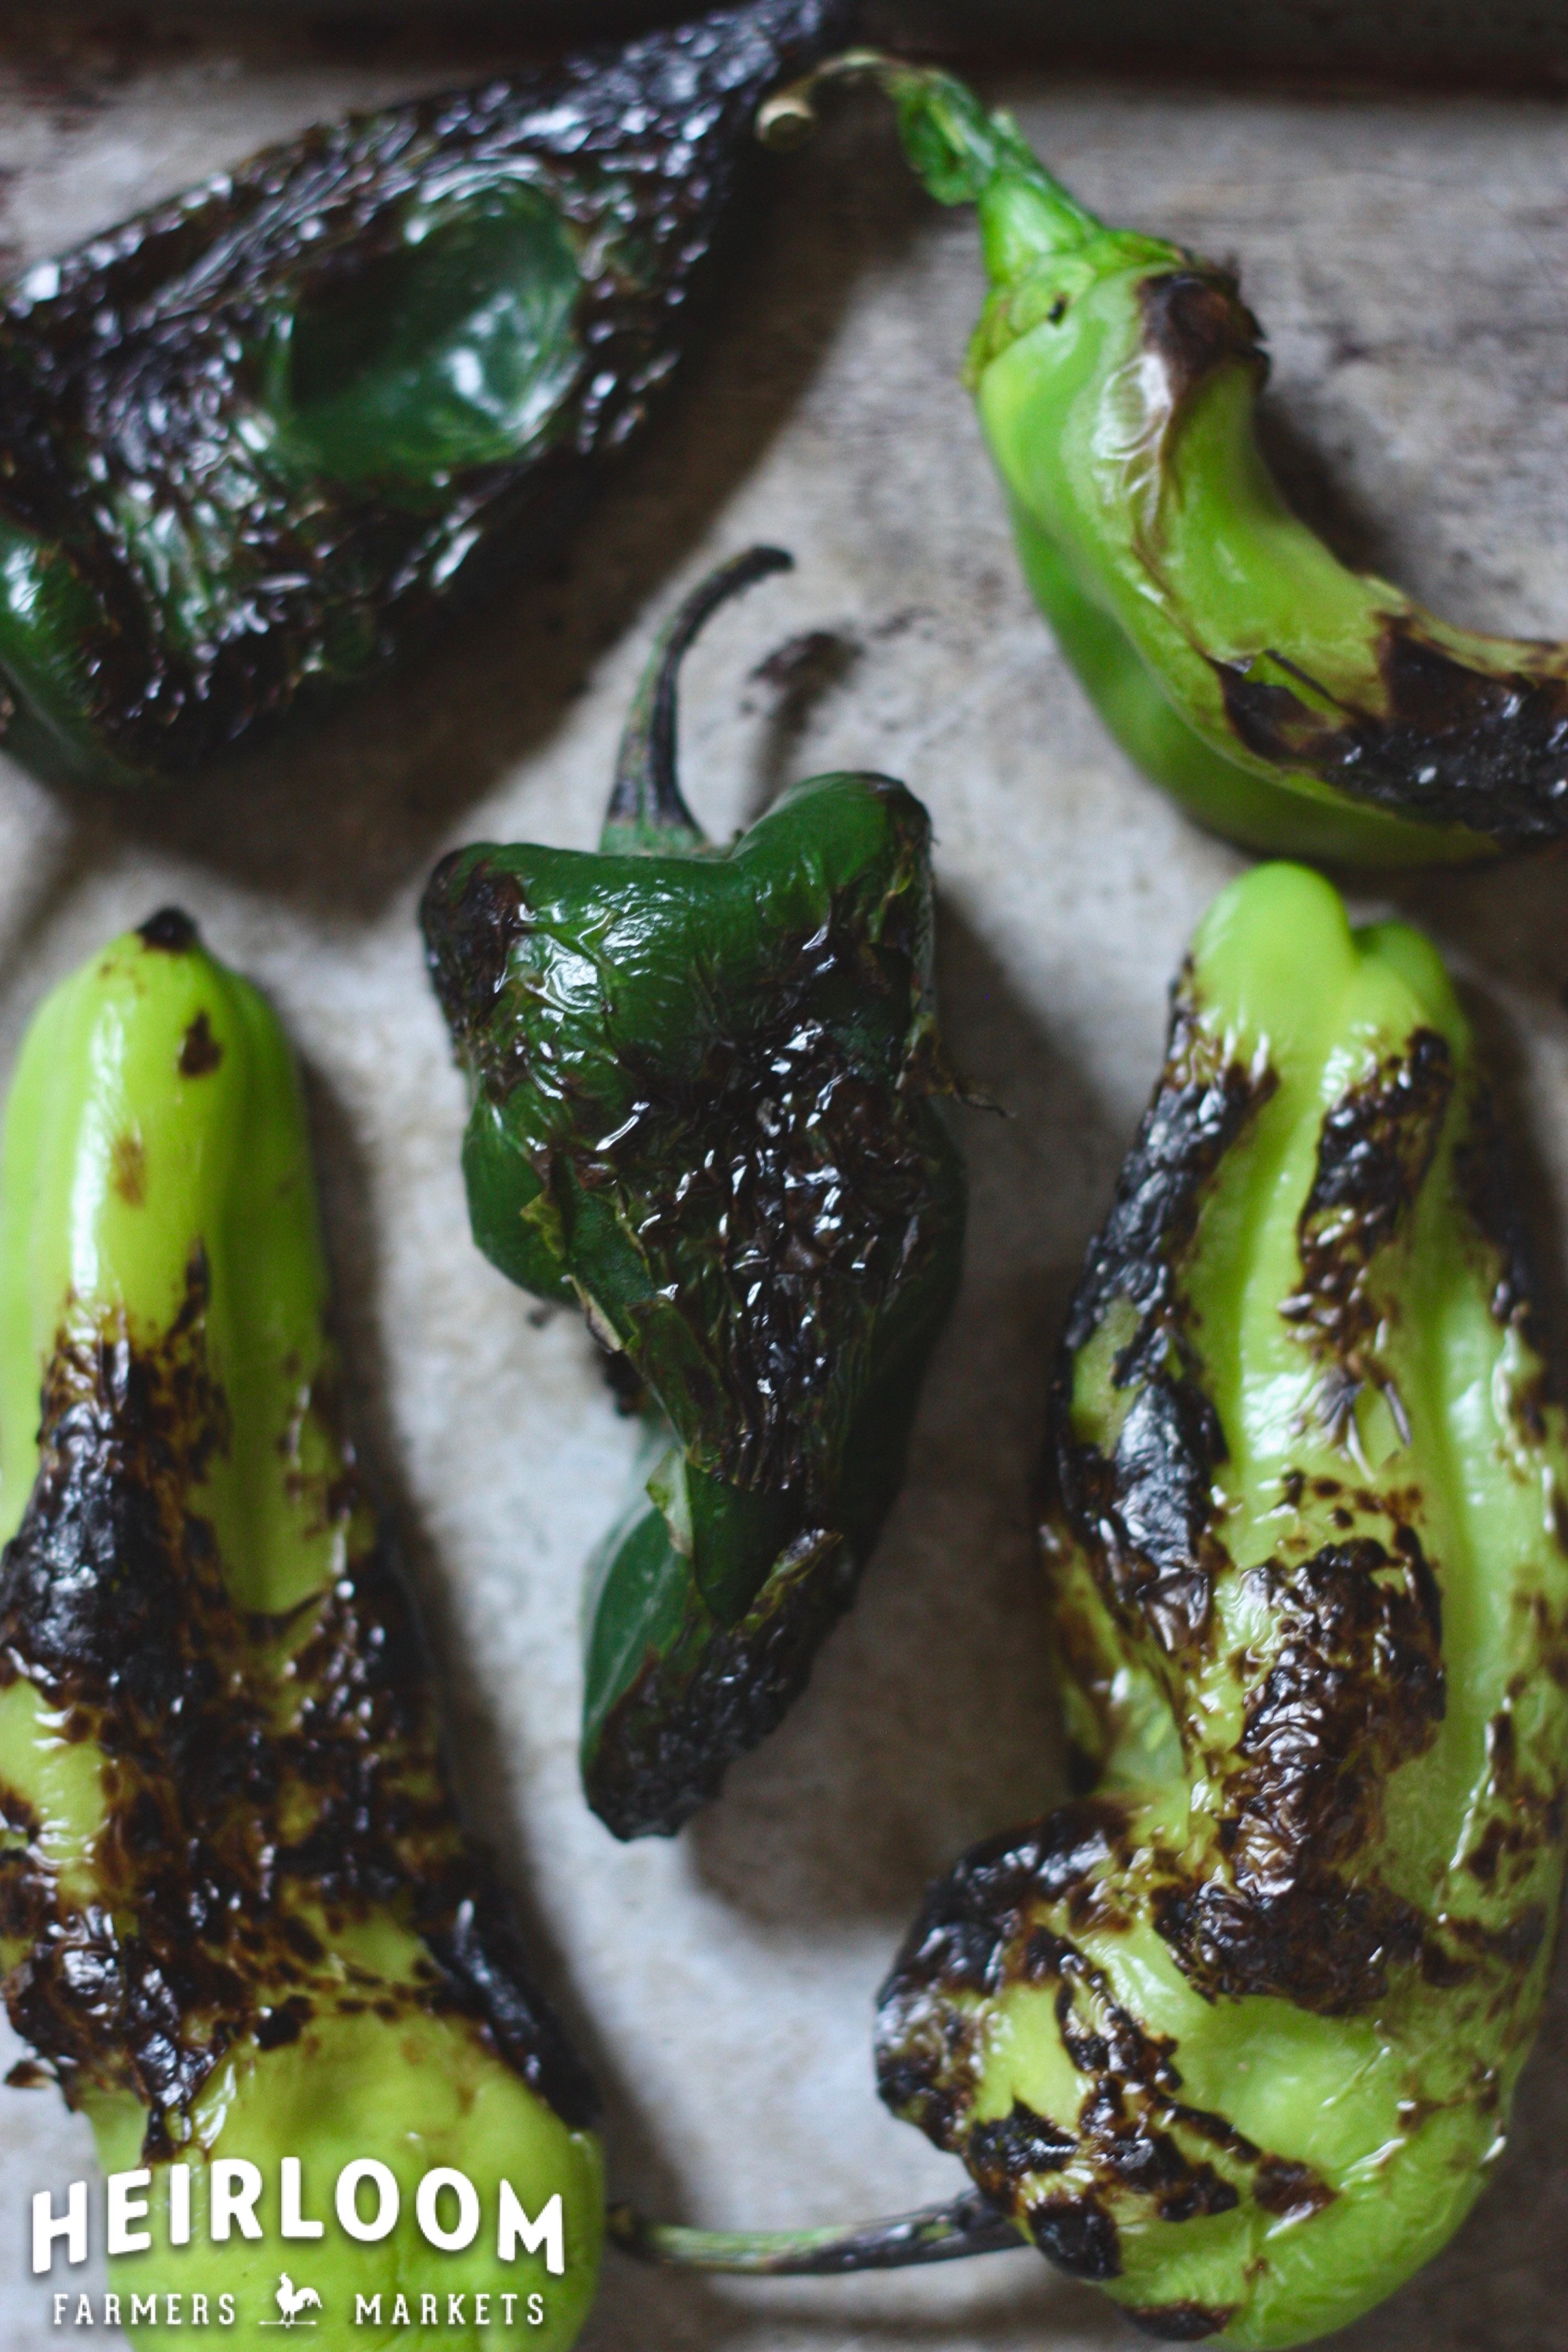
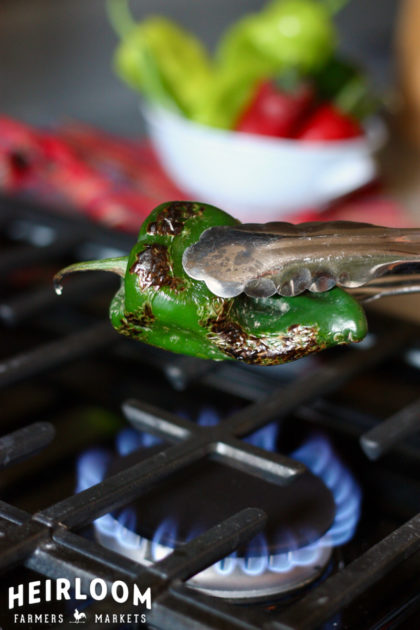
You don’t need a chile roaster to produce the charred, smoky, heavenly scented chiles everyone craves. When it comes to roasting chiles at home, you have options! The easiest and most efficient way to roast chiles at home is to place your chiles, evenly spaced, on a rimmed baking sheet under your oven’s broiler. After a few minutes, or once your chiles have dark blisters on their skins, use tongs to turn them over and continue broiling until the chiles are blackened. You can produce the same results over an open flame on a gas cooktop, on a grill, or in a hot, dry cast iron skillet over the stove.
To remove their skins, place the hot roasted chiles in a large container with a lid until they reach room temperature. At this point, it should be easy to peel their skins off with your fingers. If you’d prefer their skins to stay intact, allow them to cool on the counter before storing or cooking with them.
Freezing Chiles
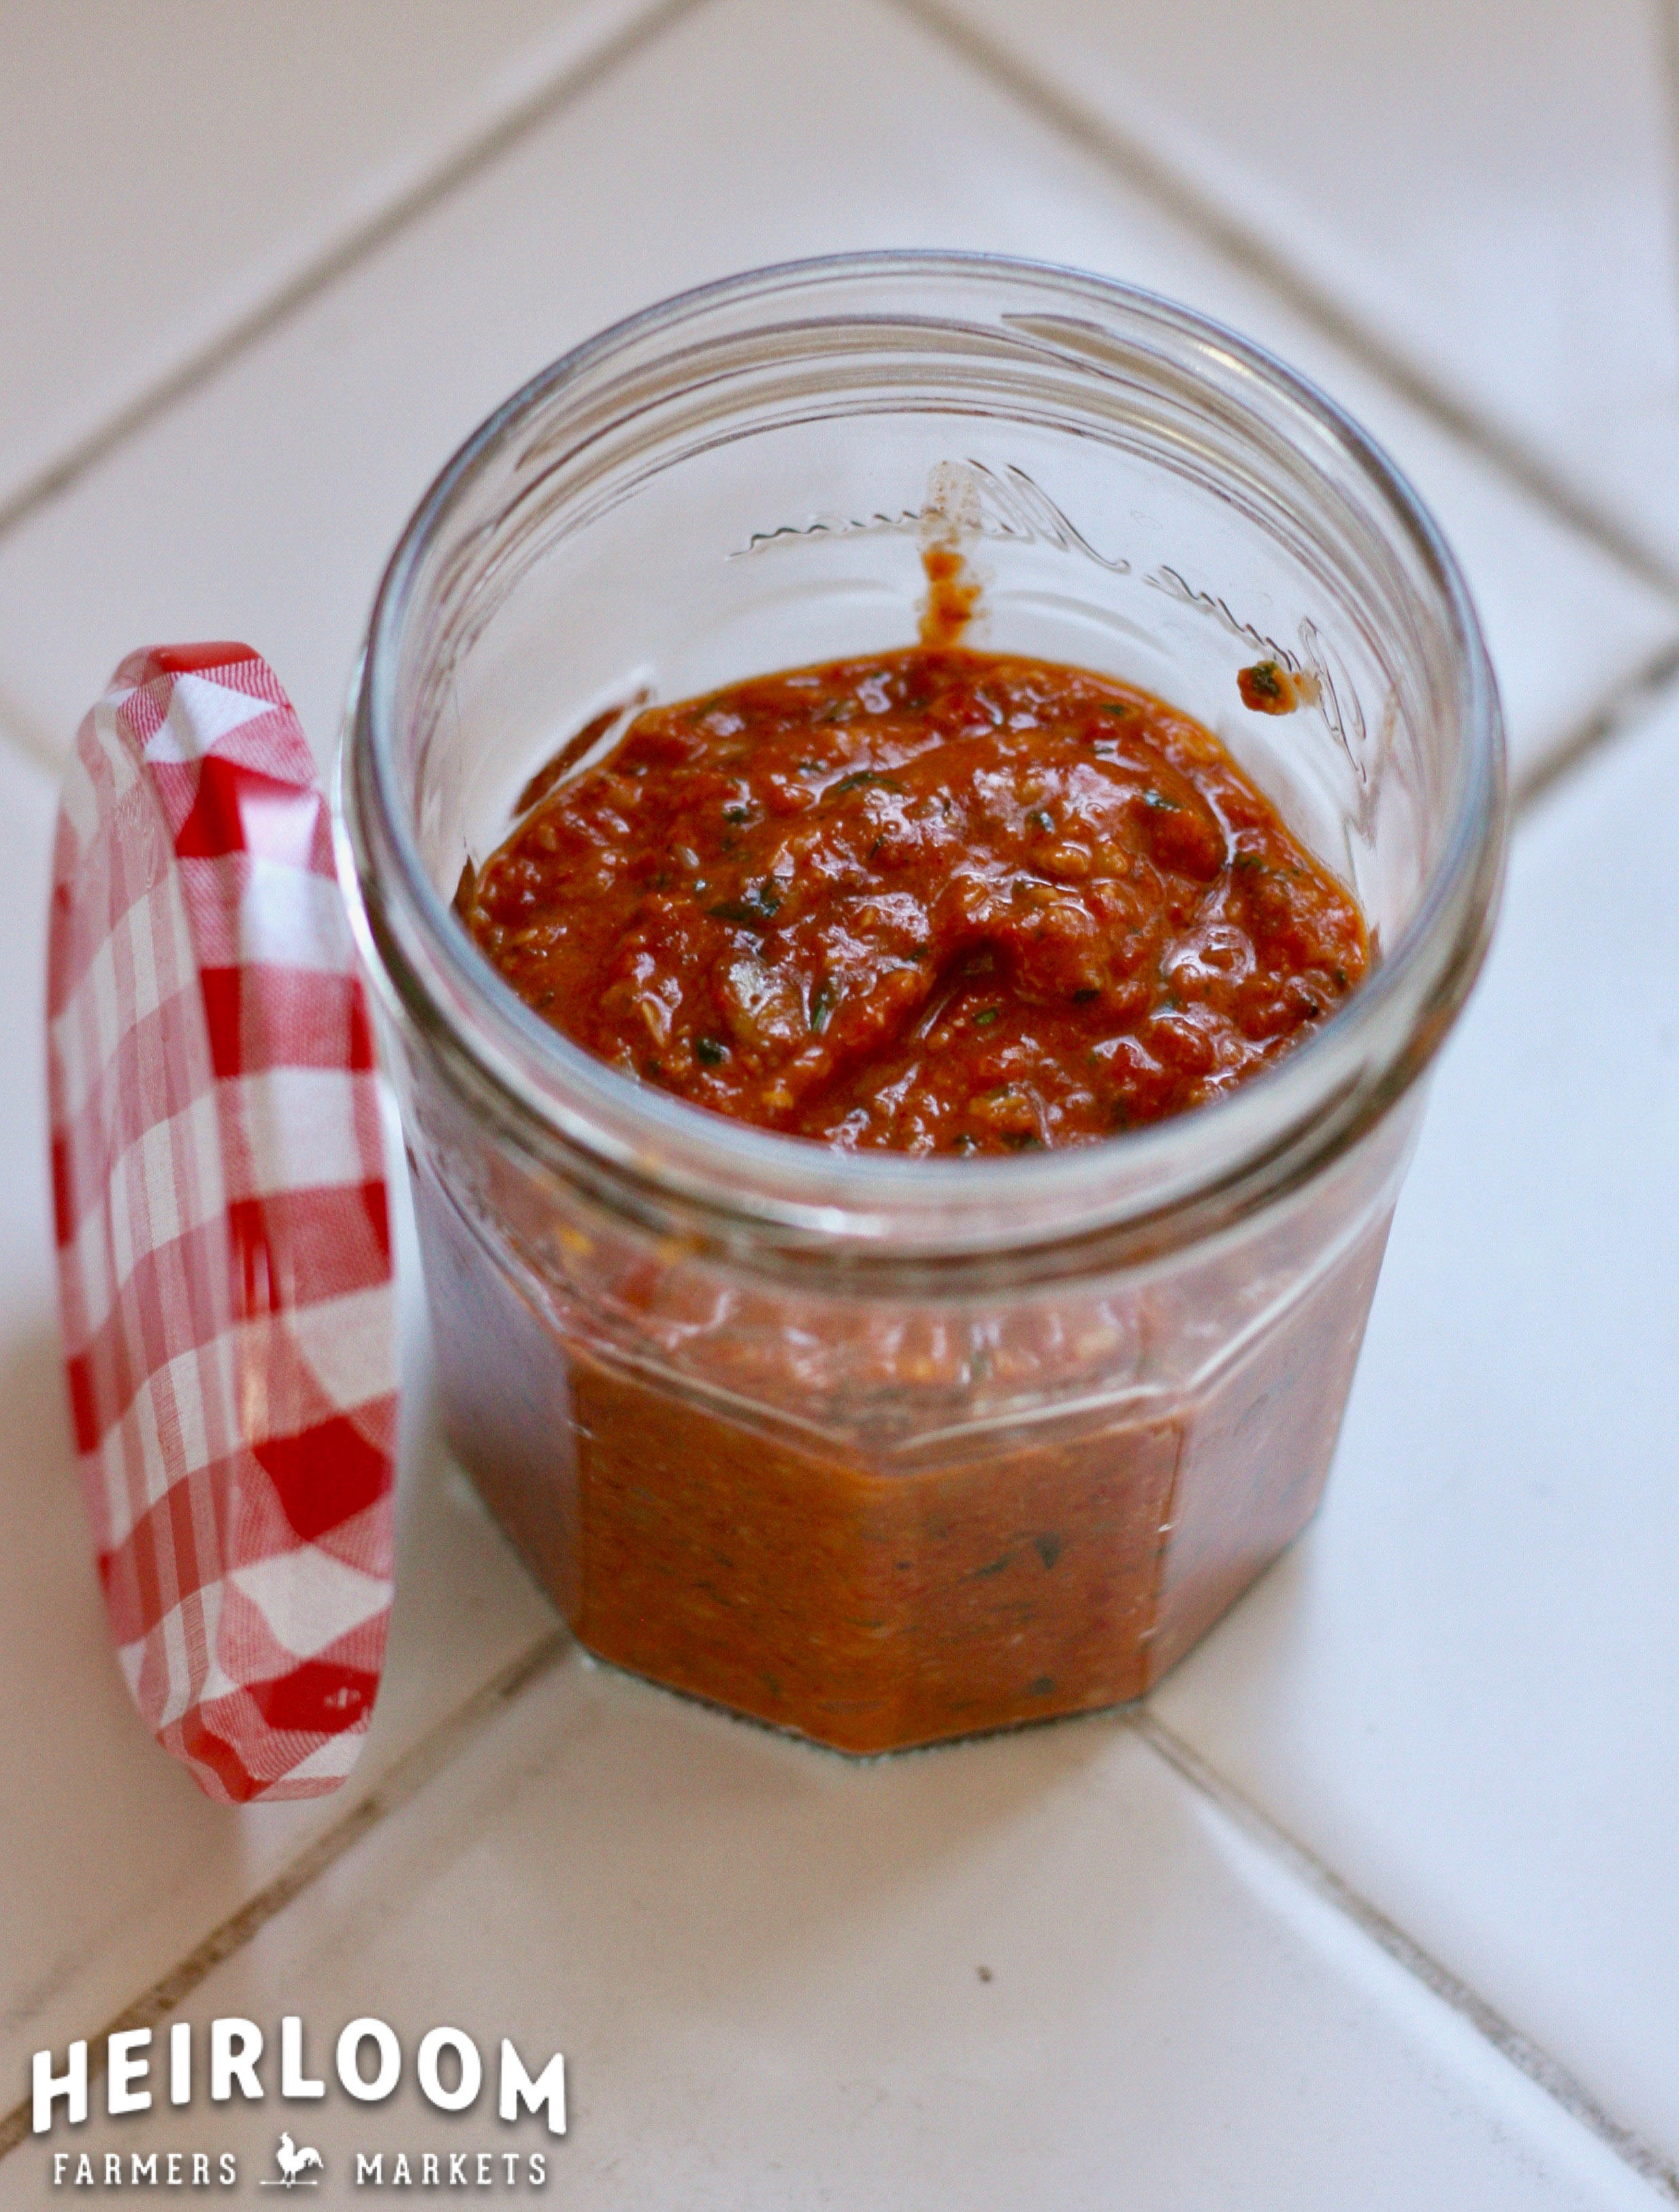
While fresh chiles don’t freeze well, roasted chiles do – and a good stash will perk up eggs, salsas, and stews long after chile season has passed. There are several ways to successfully freeze freshly roasted chiles so that you can easily access them when a craving strikes.
Freezing whole chiles: Lay roasted and cooled chiles in a single layer on a baking sheet lined with parchment paper and place the tray in the freezer. Once the chiles are frozen solid, transfer them to a large bag or food storage container and place them back in the freezer. This will allow you to dip into your stash one chile at a time. Defrost on the countertop or in the microwave before using.
Freezing diced chiles: Once your roasted chiles have cooled to room temperature, remove their skins, stems, membranes, and seeds. Dice the chiles into 1/2-inch pieces and pack them into a ¼ cup measuring cup to portion them into equal servings. Place each serving in a mound on a parchment-lined baking sheet and, once the chiles have all been portioned, place the tray in the freezer. Once the portions are frozen, store them in a bag or container in the freezer. Defrost as needed.
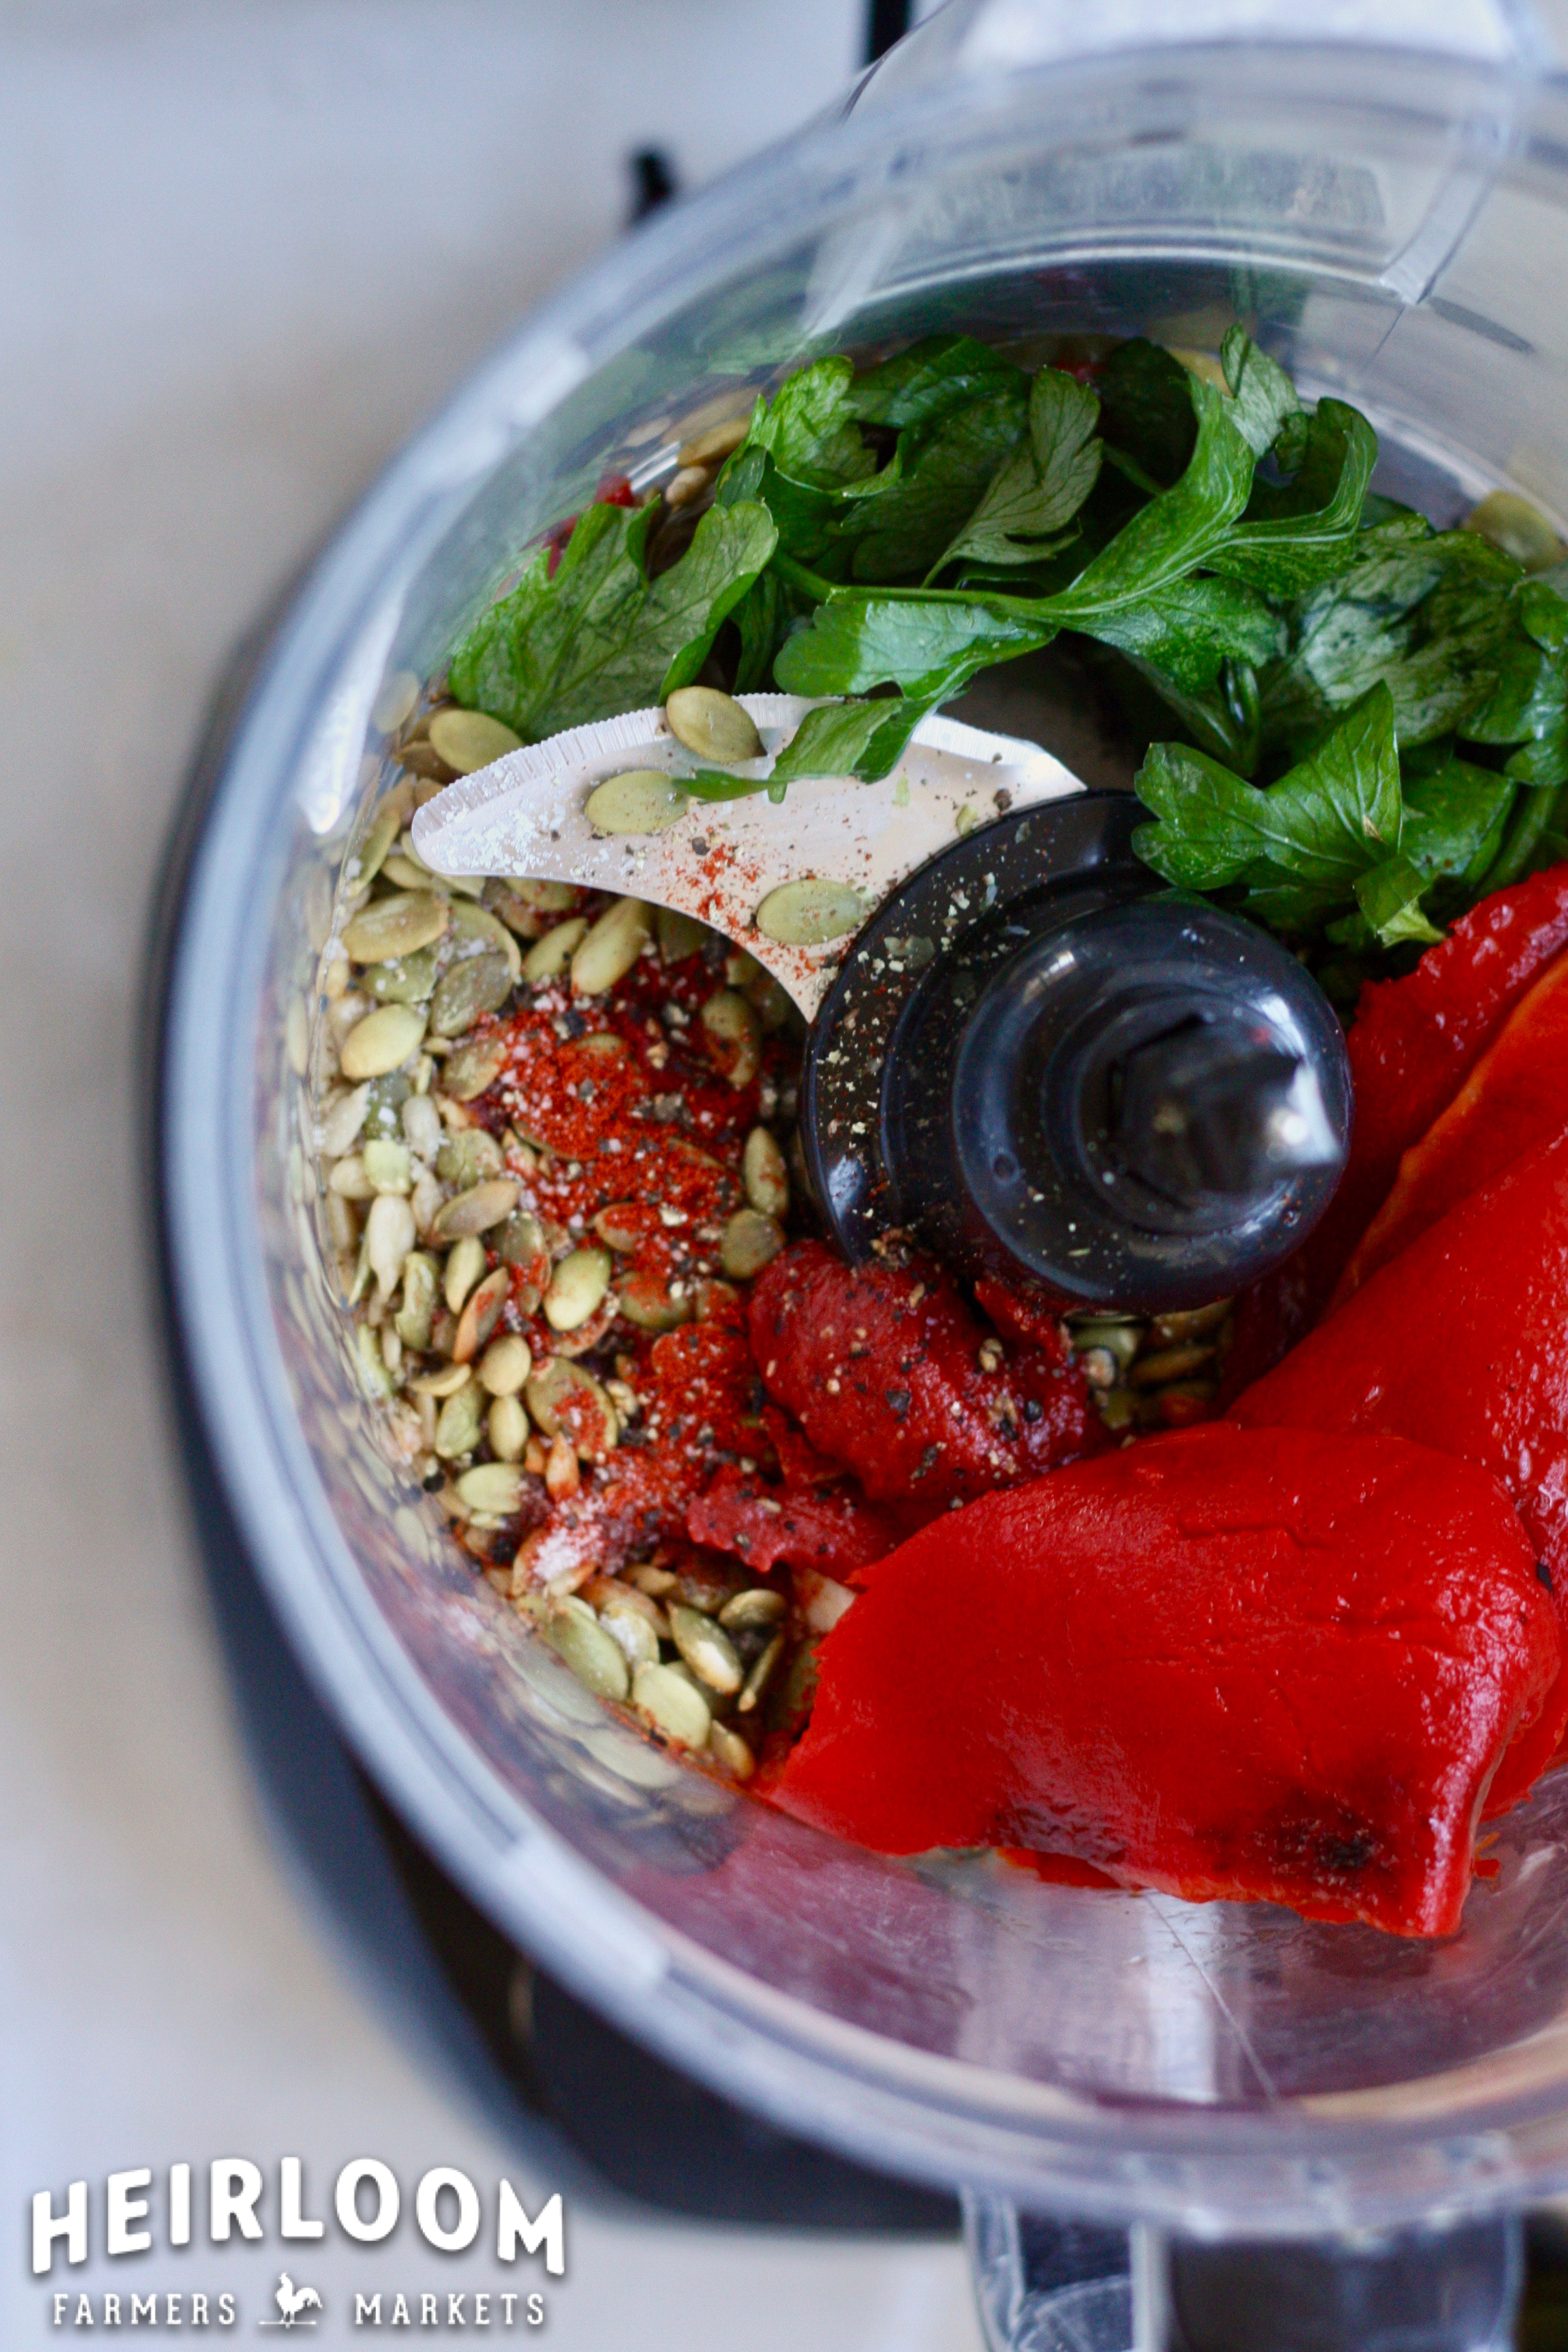
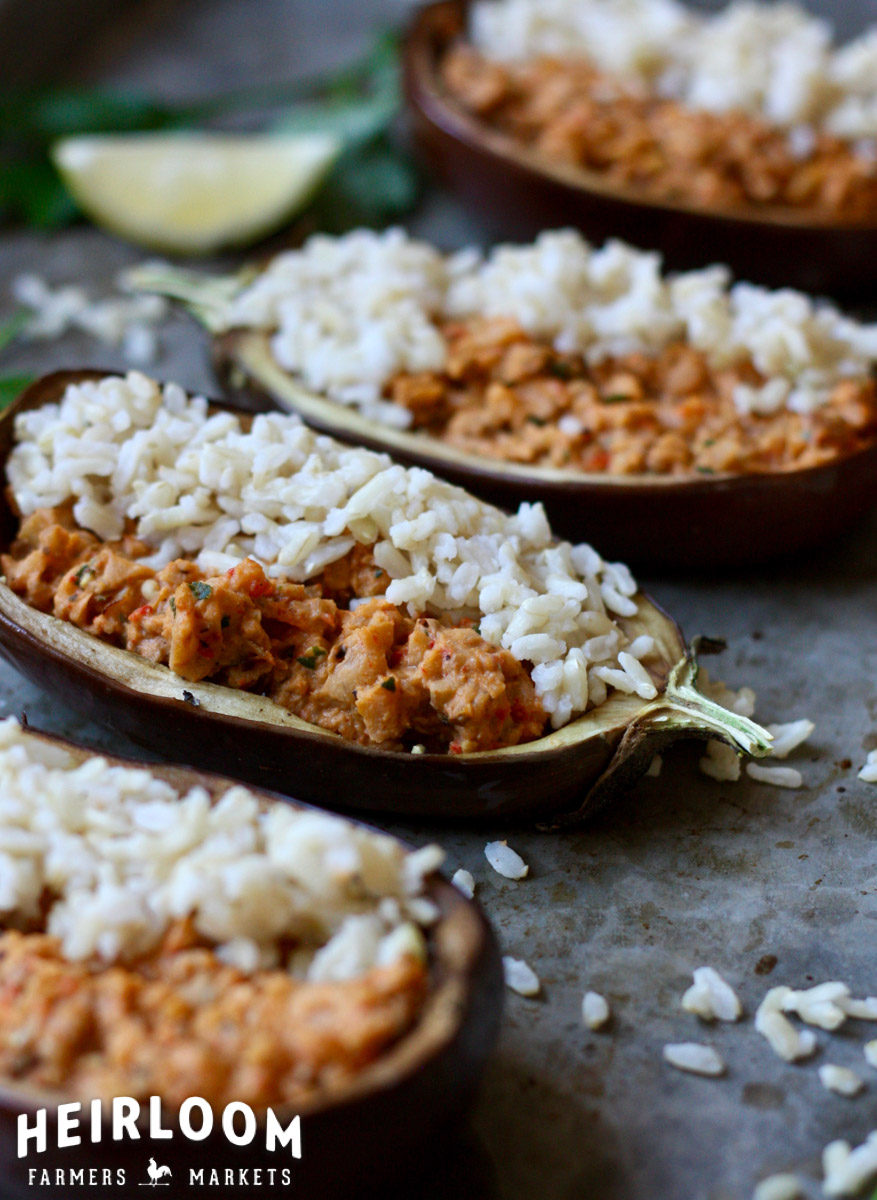
September/October Recipe
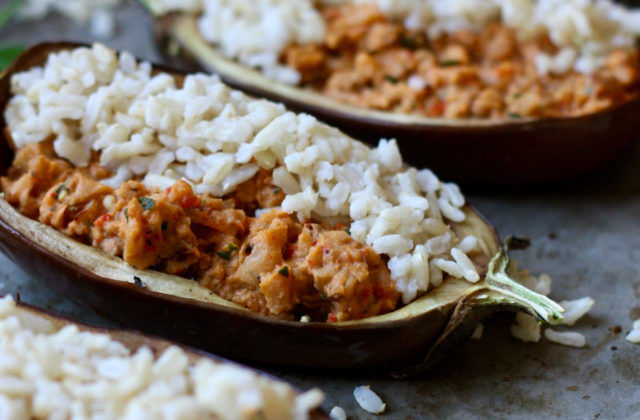
Farm Fresh Photos